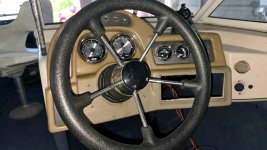
1997 Mirrocraft 18' aluminum fish n ski

BWR1953

Admiral
Joined
Jan 23, 2009
Messages
6,349
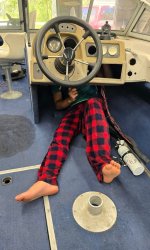
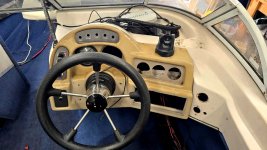
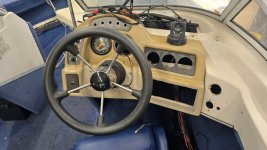
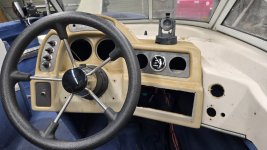
The boy came over this afternoon for Father's Day and got the small gauges out for me. :LOL:

1.jpg

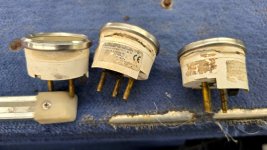
Got 'em out okay.
3.jpg

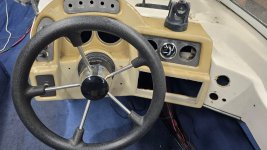
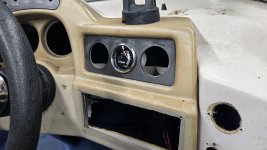
But they don't look so good. o_O 🤪
2.jpg
 

BWR1953

Admiral
Joined
Jan 23, 2009
Messages
6,349
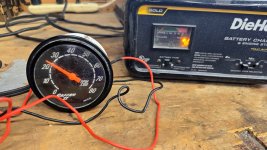
I found out how to bench test a tach by using a battery charger. The 33 year old tach from the donor boat showed about 2500rpm, but it should only be 600rpm, so it's no good. :sneaky:
4.jpg
 

SHSU

Lieutenant Junior+Starmada Splash Of The Year 2019
Joined
Mar 8, 2017
Messages
1,758
Nothing like working with your boys. If anything like mine, doubles the time needed but makes it far more enjoyable then doing it by myself.

SHSU
 

BWR1953

Admiral
Joined
Jan 23, 2009
Messages
6,349
OK, if it ever truly gets in the way lmk...
I cut the grass again a few days ago. The next night it rained like crazy; we got 3.5 inches in one hour.
The following morning I walked out to the garage and stopped to take these pix. Plenty of storage room at my place. :cool:
But, shoot me a message. :unsure: I have a couple questions. :sneaky:

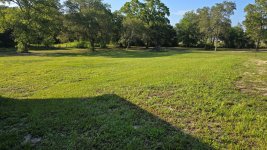
Part of the back yard.
1.jpg

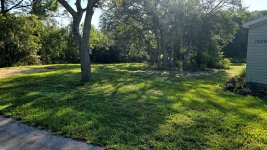
Part of the front yard.
2.jpg

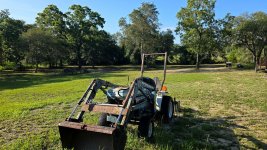
Back yard behind the garage.
3.jpg
 

BWR1953

Admiral
Joined
Jan 23, 2009
Messages
6,349
Been pretty busy lately. Health and weather problems slowed me down a bit too. As usual. :rolleyes:

After several weeks and many, many hours of research, I finally ordered all new gauges. I settled on Faria-Beede; their Platinum Series. They start arriving today and will continue for the next week or so. I needed 7, but only had room for 5 gauges, so I had to compromise. I ordered a dual function tach/voltmeter combo and will have to do without a water pressure gauge. I'll rig up a water pressure loss horn/light on the dash instead.

Meanwhile, I've been preparing for the installation by getting some cosmetic stuff done. Took me a few days for the first part, so I'll break it down by separate posts.

7-7-25
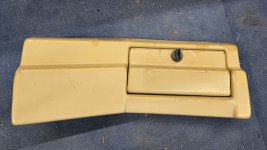
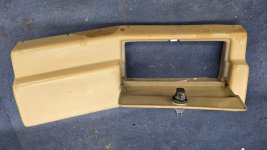
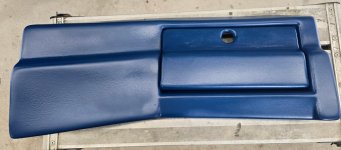
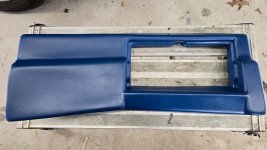
I started by removing the glove box.
1.jpg

The plastic was all weathered and peeling.
2.jpg

3.jpg

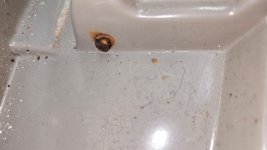
The glove box bolts were totally rusted, so will be replaced with stainless hardware.
4.jpg
 

BWR1953

Admiral
Joined
Jan 23, 2009
Messages
6,349
7-6-25

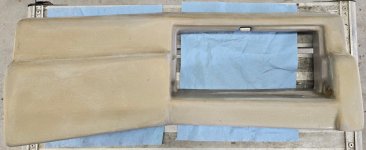
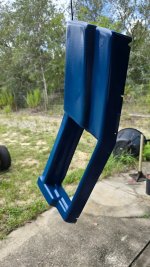
I sanded the glove box panel down and got all the uglies off of it. :LOL:
1.jpg


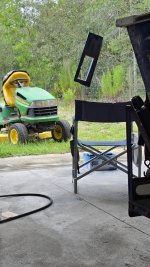
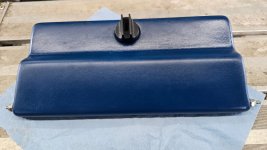
Then I sprayed on the first coat of Krylon Fusion satin blue and hung it out to dry.
2.jpg

Nothing like sitting and watching paint dry. :cool:
4.jpg

The first coat went on fine.
3.jpg

5.jpg

6.jpg
 

BWR1953

Admiral
Joined
Jan 23, 2009
Messages
6,349
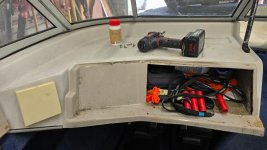
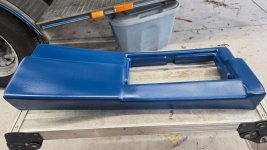
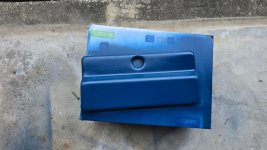
And this morning I put on the final coats of paint, replaced the hardware and mocked everything into place.

1.jpg

2.jpg

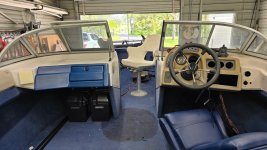
I chose this blue because it's a pretty good complement to the other blues in the boat. And I chose satin instead of gloss because I didn't want the parts to look all "plasticky."

The consoles are actually a creamy white, not the tan in the pix. That's a lighting effect.
3.jpg


4.jpg


For the helm, I'm planning on using the satin blue, but instead of black accents, I'll paint those white to match the consoles. The gauges have black faces with chrome trim bezels, so they should look good.
6.jpg
 
Last edited:

BWR1953

Admiral
Joined
Jan 23, 2009
Messages
6,349
The trim gauge arrived this afternoon. Naturally, I had to go mock it into place for a looksee. :cool:

I tried it in the innermost hole, but I couldn't see the gauge because of the steering wheel. Moved it to the center and that was perfect. I'll put the fuel gauge in the innermost location and leave the outermost spot for the temperature gauge.

7.jpg

9.jpg

8.jpg

10.jpg
 

BWR1953

Admiral
Joined
Jan 23, 2009
Messages
6,349
Getting there. Only one gauge still in the mail. :cool:

Gonna have to get my buddy to get the steering wheel off for me next.

1.jpg
 
Top